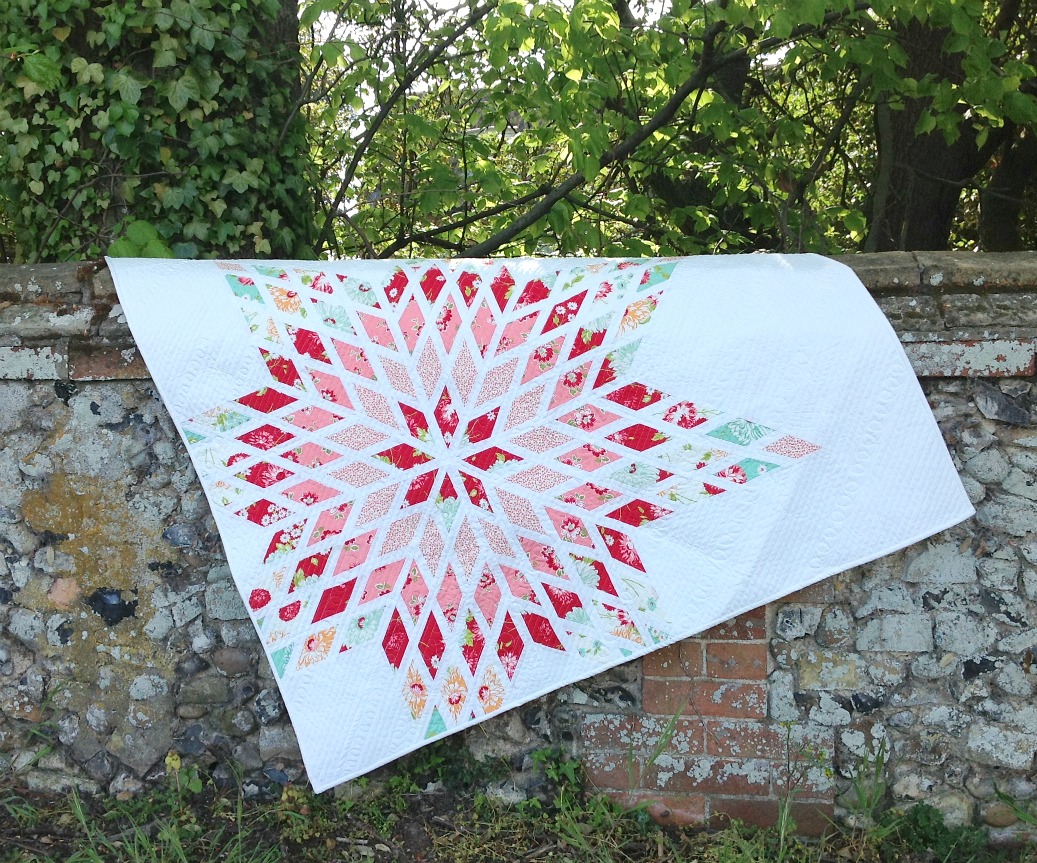
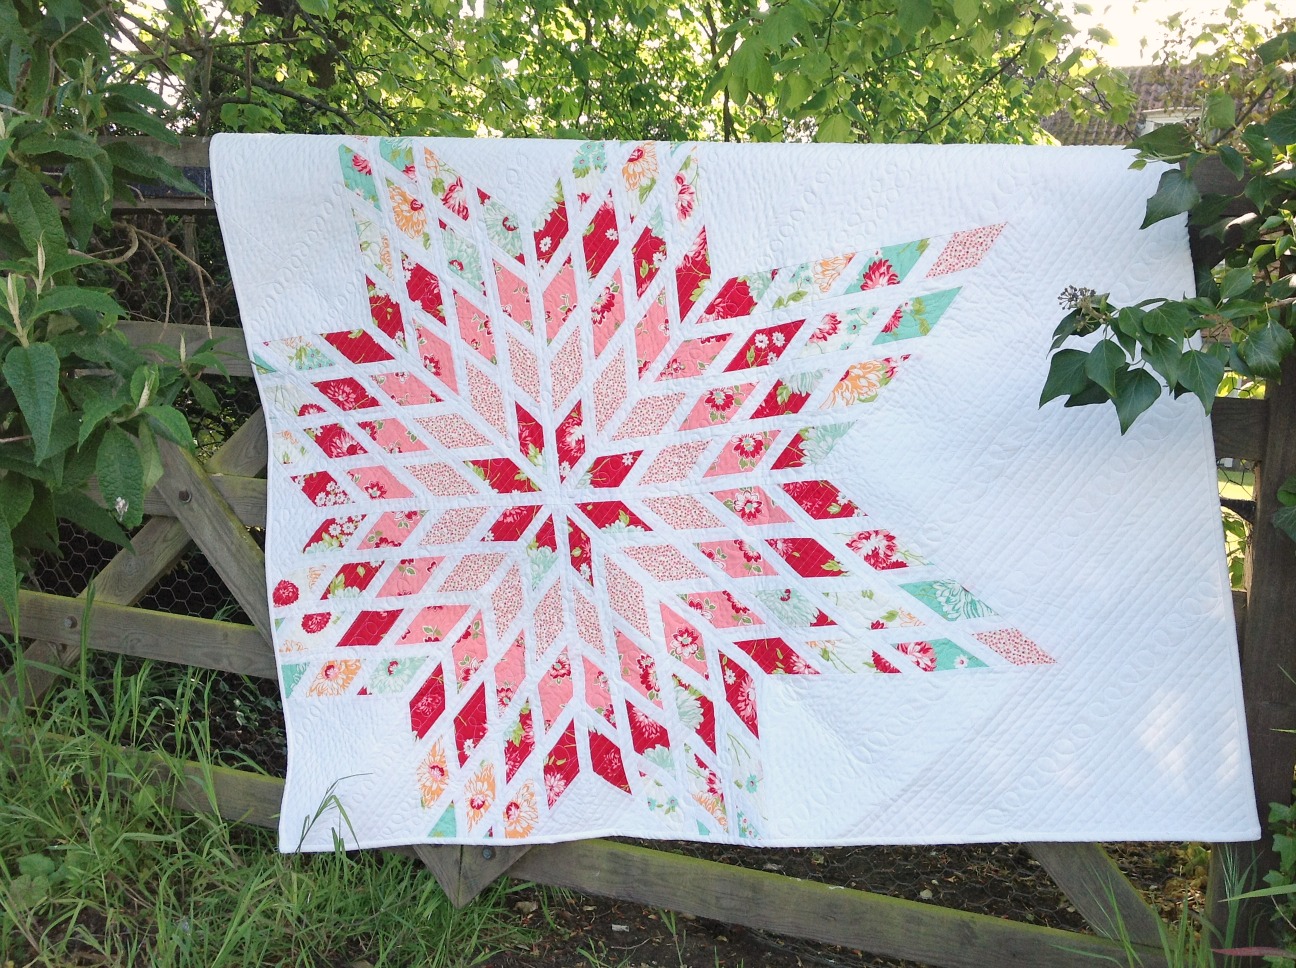
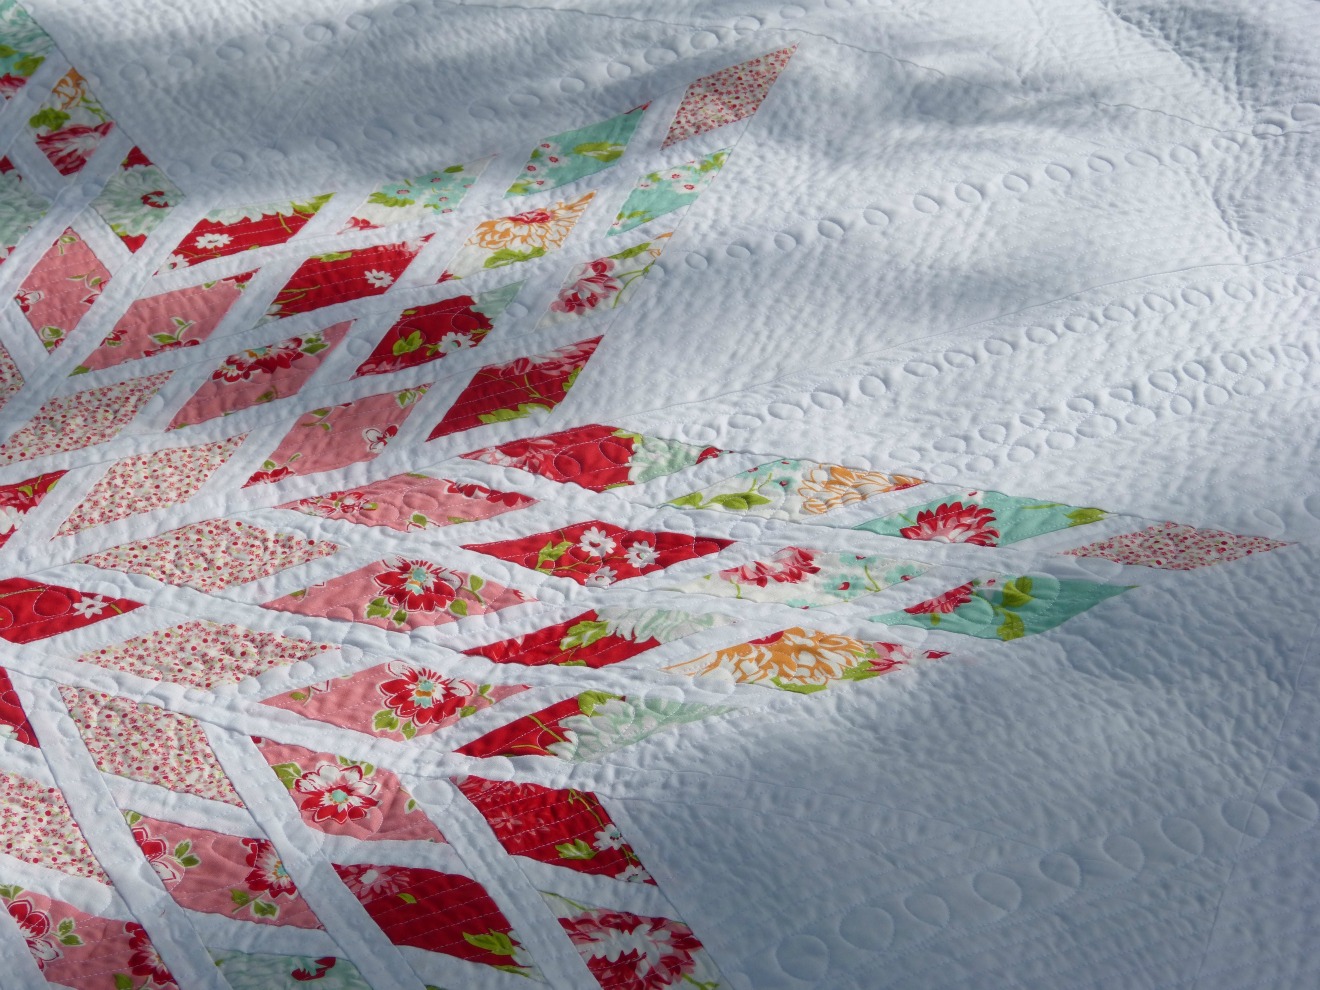
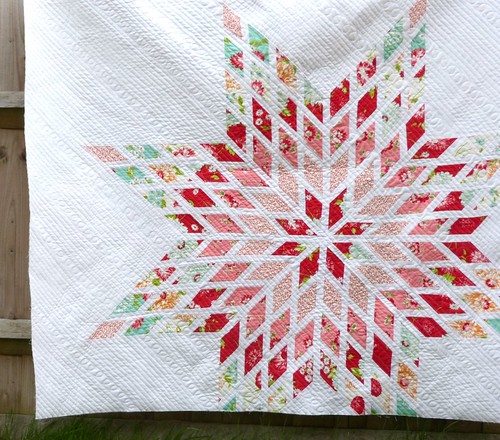
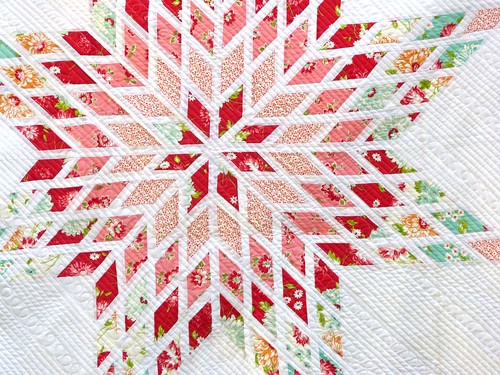
I LOVE lone stars. I love everything about them--their history, the challenge of putting them together, and the stunning beauty of the finished design. When I'm in a sewing rut, or bored with other projects, I always find myself being drawn back into making lone stars. And no matter how many times I've made them, it never gets boring, and I'm always discovering some new technique that works (or doesn't work) for me. Earlier this year I made my Exploding Lone Star, and promised a few people that I would post a tutorial, but I thought it was important that I cover the basics of lone star making first. I have had my share of panic and hysteria during the learning phase of working with diamonds--bursting into tears, ready to scream and pull my hair out, and imagining throwing my quilt into the garbage disposal, then laughing maniacally about it. And then, after I regained my sanity and finished the project, I found it truly a rewarding experience. My love for them is much like romantic love--it can make me blissfully happy, but at the same time, has caused me a tremendous amount of turmoil.
There are many wonderful resources available to learn how to make a lone star quilt, and I encourage you to explore as many avenues as possible to learn what methods you like and what tutorials you find work best for you. I used a combination of books, blog tutorials, and videos to learn as much as I could, but the when I encountered problems, there didn't seem to be any guidance on what I could do to fix them or prevent the same problems from occurring again. It seemed like I was running into the same issues over and over again, and even though there is a spreading rumor that "lone stars are difficult", I didn't feel like there was a place to go to find help to questions like "what's the best way to iron diamonds?" or "what do I do if my quilt bows up in the middle?". It seems like many of the tutorials I read provided excellent steps for the process, and provided perfectly-pieced finished quilts, but I was left wondering if the author had experienced any of the frustrations I was experiencing, or was I really just an idiot with a sewing machine? Were the creators of lone star tutorials struggling behind the scenes, or was the process for them just as simple as it appeared to be? I hope through my tutorials, I can try to answer some of these questions I have asked myself and to pass on some of the things I've learned, so that you can experience the joy and beauty of making a lone star, without getting admitted to a psychiatric hospital.
Constructing a Lone Star
Like many traditional quilt designs, a Lone Star has many names: Bethlehem Star, Morning Star, Star of David, and if you're on instagram, you can find lots of lone star quilts named simply #starquilts. Typically, lone star quilts are made of a single star burst, but it's also very common to find quilts made of several mini-stars. Each is 8-pointed and made of 45 degree diamonds. Traditionally, lone stars were pieced with Y-seams, but somewhere along the way a very smart person realized there was a much easier way to piece the star. In fact, you'd have a hard time finding a tutorial that DOES use Y-seams. Now the most common method is strip piecing.
To strip piece a lone star, strips of fabric are sewn together, and then cut on a 45 degree angle to make a strip of diamonds. You sew the strips together to make a larger diamond which becomes one "arm" of the star. The arms are pieced by sewing the strips of diamonds together, as you'll see in the tutorial. Strip piecing is a much easier and faster way to construct the star, and it really is a lot of fun. You just want to make sure you cut and piece as accurately as possible. Working with bias cut pieces can be tricky, so don't get frustrated if everything doesn't go together perfectly. Just have fun, and if you find yourself wanting to rip phone books in half with your bare hands, then remember, I'm here to help! Shoot me an email, and you can gripe at me, and I'll do the best I can to help in any way possible--even if it just means sending you a bottle of the best over-the-counter drugs money can buy:)
The tutorial today will make a 20" x 20" star block.

What you'll need:
For the star:
Color A - 1 - 2.5" x WOF
Color B - 2 - 2.5" x WOF
Color C - 1 - 2.5" x WOF
Background:
1 - 7.5" x WOF
* Subcut into
2 - 7.5" squares
4 - 7" squares
Making your strip sets:
Sew B to the top of A, staggering it approximately 2.5" from the end of A. Carefully, press towards B.

Now do the same thing with strips C and B. Sew C to the top-side of B, approximately 2.5" from the end. Carefully press towards B. Your strips should look like this--

Flip your strips over and align the 45 degree angle of your ruler with the top of your strips, and use your rotary blade to trim off end.


Flip your strip back over, align the top on the 45 degree angle, and measure 2.5" inches on the angle--make sure to keep the left side of your strips lined up the 2.5" line of your ruler. Use your rotary blade to cut your first strip piece.

Following the same method as above, continue cutting strip pieces until you have 8 (AB) diamond sets. Repeat with the (BC) strip set.

At this point you should have 8 each of (AB) and (BC) diamond strip sets.
Making the arms of the star:
Arrange 1 (AB) and 1 (BC) diamond strip as shown below.

Using the photo below as a guide, draw dots on each of your strips where the two diamonds meet.

Now fold one over so they are right sides together.

Pin directly through each of the drawn dots

and then secure pin in place. Notice there is a 1/4" end point of fabric showing from the bottom strip set--this is a good thing and should look this way on both ends.

Align the needle of your sewing machine at the intersection of the two strip sets (where the fabric tip is exposed) and sew a 1/4" seam.


Now when you open it up you should have perfect points.

Once you have it sewn together to your satisfaction, carefully press your seam open on the backside. I use only the very tip of my iron, and it barely touches my fabric. I just want to have it pressed good enough where the diamond doesn't fold closed on me. I always make sure that my iron doesn't touch the end points of my "arm" or diamond because things can get all crazy if your ends get distorted. Then I flip the diamond over, and press once (without moving my iron back and forth) for a few seconds over the middle of the diamond--again being as careful as possible NOT to touch the top and bottom points of my "arm".

When your arm is together you can trim the points off (below) where you sewed your seam. You don't have to do this, but it will help reduce bulky seams later.

Repeat to make 8 "arms" and then decide how you want them arranged.

Adding the background:
The background is made from using half-square triangles (HSTs) and quarter square-triangles.
Cut 4 - 7" squares in half diagonally and set aside.

Cut 2 - 7.5" squares in half diagonally, and then, being carefully not to move the square, cut it in half diagonally in the other direction (below) and set aside.


The background will be added to the star one quadrant at the time. First, lay out two of your "arms". Then arrange two 7" HSTs in the upper right corner (with diagonals in the center to make it look like a square). Add a quarter-square triangle to the upper left and lower right of the "quadrant" with the longest edges facing the inside of the quadrant next to the "arm".

Next, fold down a HST and sew it to the arm. Just like when sewing diamonds together, leave 1/4" of the end of the HST to extend past your diamond. After it is sewn on, trim the point that extends past the diamond.

Press towards the HST. If you're using a light background and making a dark colored star, you can press open or towards the star.

Next, sew the HST onto the arm on the left. Then, using the same method, sew your quarter-square triangles to the arms as pictured below. Make sure the triangles extend 1/4" past the diamonds. Press towards triangles.

It always helps if you have a pretty girl helping you out.


Fold the two halves RST and pin the seams so they match up. Sew them together and press seam open.


Notice on the intersection where my background fabric meets up at the outer point of the diamond--it only met up exactly about 50% of the time. But don't worry--we'll fix this when we square up our block. The seam ripper in the photo below is deceiving--for this problem you don't need to fix anything right now.


Assembling and squaring-up your block:

Sew two sets of two quadrants together and press seams open. Sew the two halves together and press open to make the completed star.
Use your ruler to square up your quilt. I used the points of the star as my guide, matching the points up to the 1/2" mark on my ruler, and trimmed off the excess. Finishes at 20" x 20".

And now you're done! I hope this tutorial helps you out, and if you have any feedback, please let me know.