photo q1_zpscd9da648.png  photo dot_zpsb8876eec.png  photo q2_zps95da3dae.png  photo dot_zpsb8876eec.png  photo q3_zps747c53f9.png  photo dot_zpsb8876eec.png  photo q6_zps32c3ba5d.png  photo dot_zpsb8876eec.png  photo q4_zpse6214d9c.png  photo dot_zpsb8876eec.png  photo q5_zps8a7bdd1d.png

Saturday 22 February 2014

Queen Sized Disaster (almost)

A few weeks ago I got a new bed. I am so happy about this bed. It's everything that I wanted--it's aqua, it's metal, and it looks like it could be in a country farmhouse. I became very enthusiastic about making a quilt for it because our current bedding is awful. My husband doesn't like duvet covers because they get all bunched up, so we were using a "naked" duvet.  Not to mention, we have a random assortment of other blankets because we still have kids who like to crawl into the bed with us in the middle of the night and steal all the covers.


Queen quilt 2

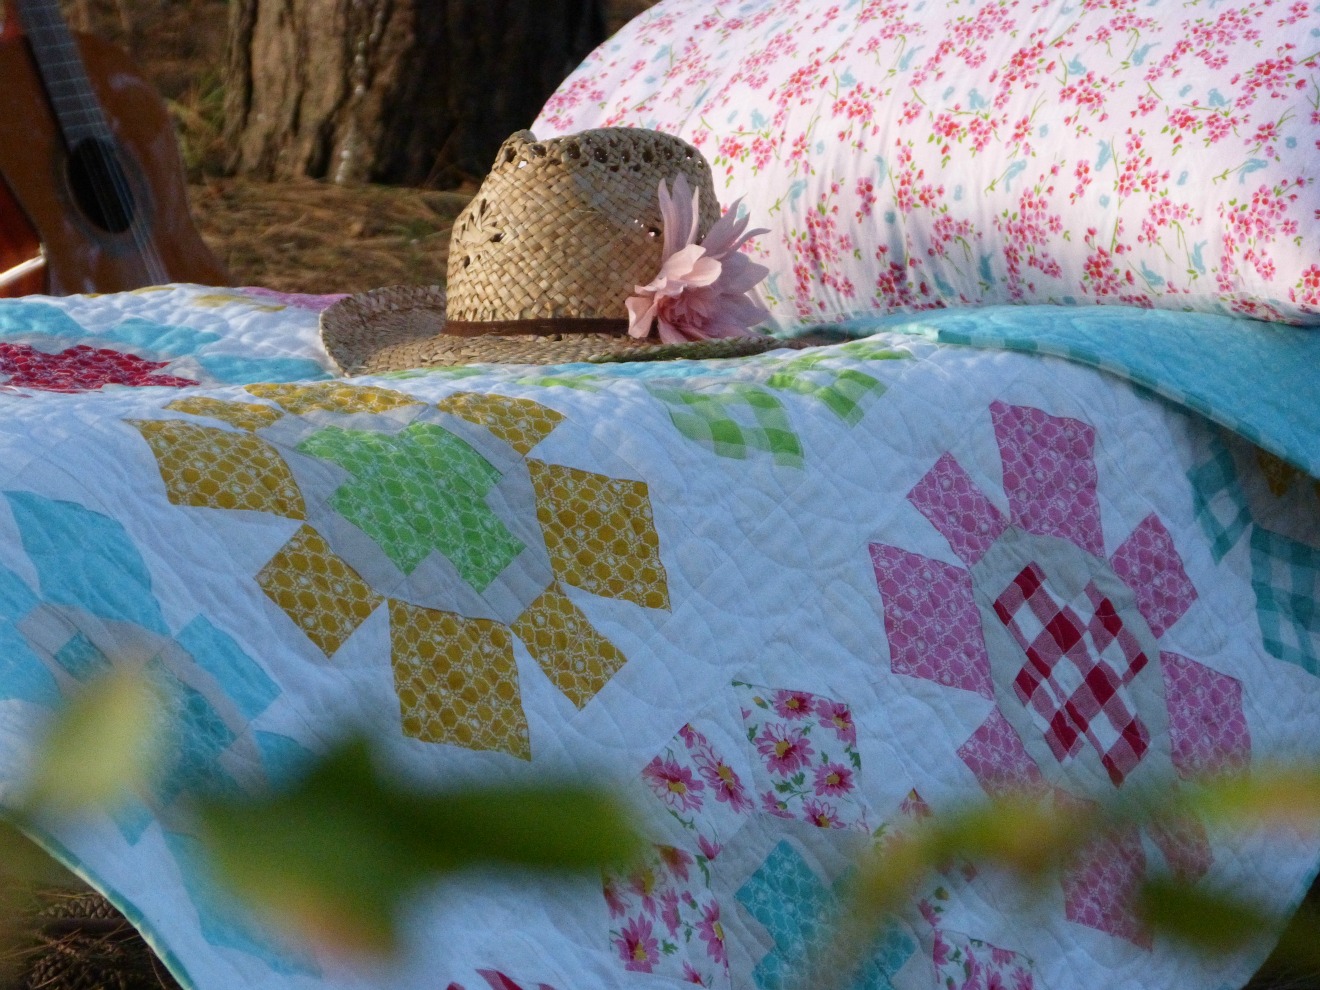
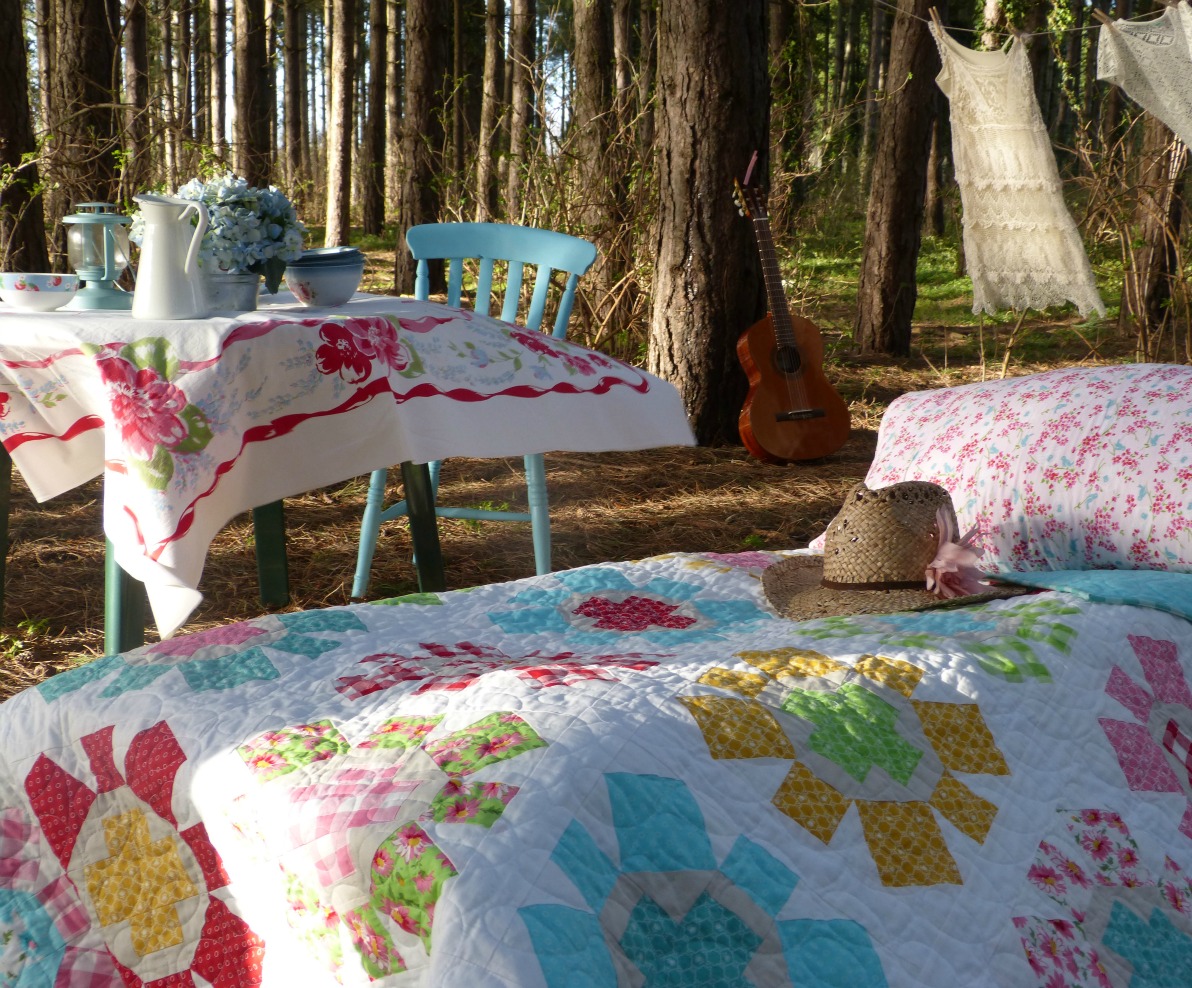
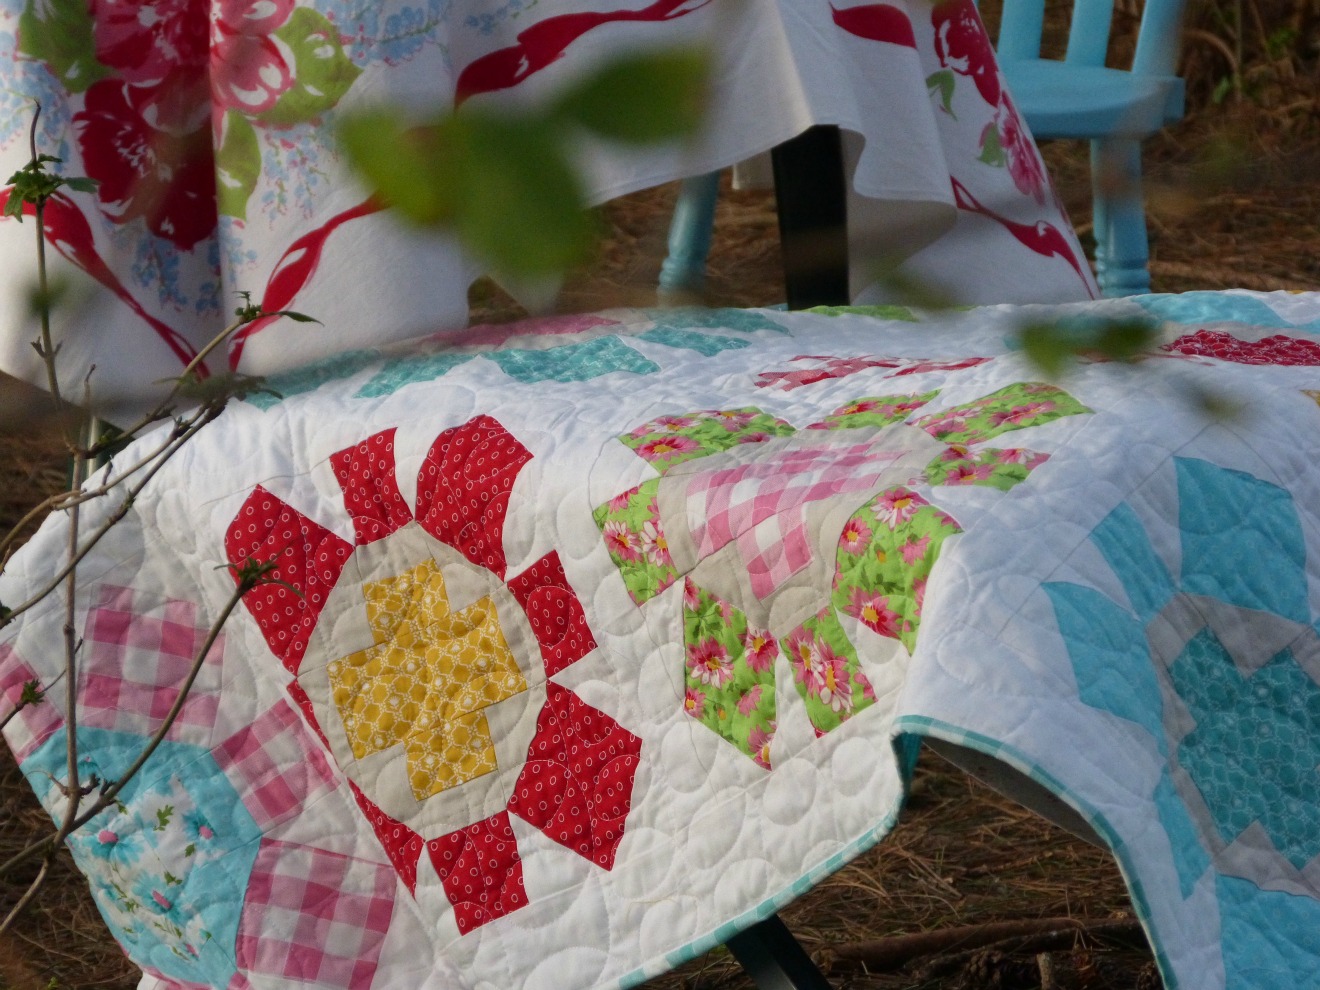
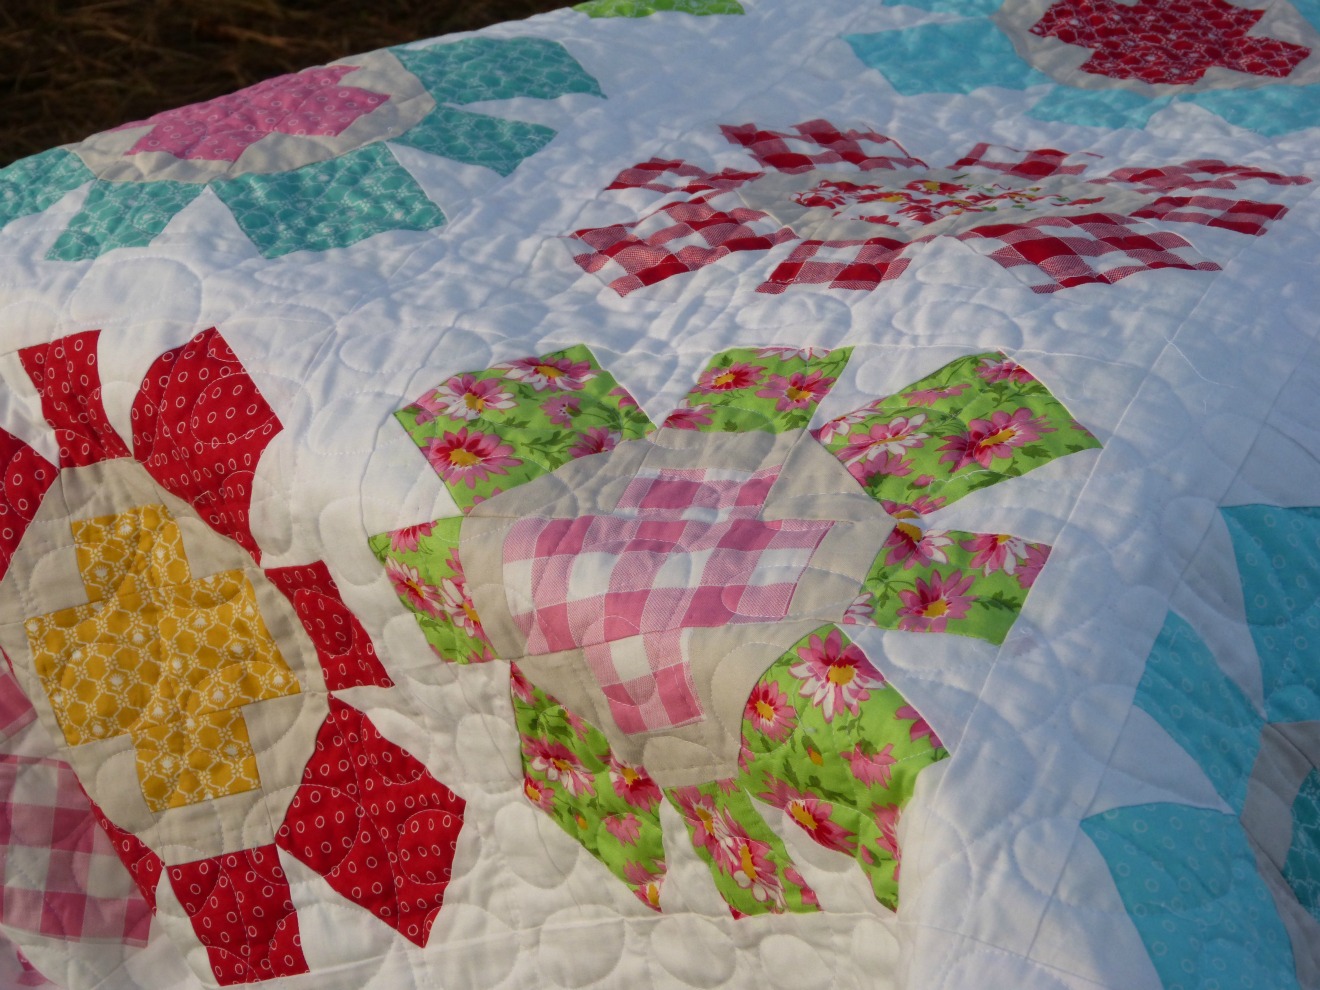
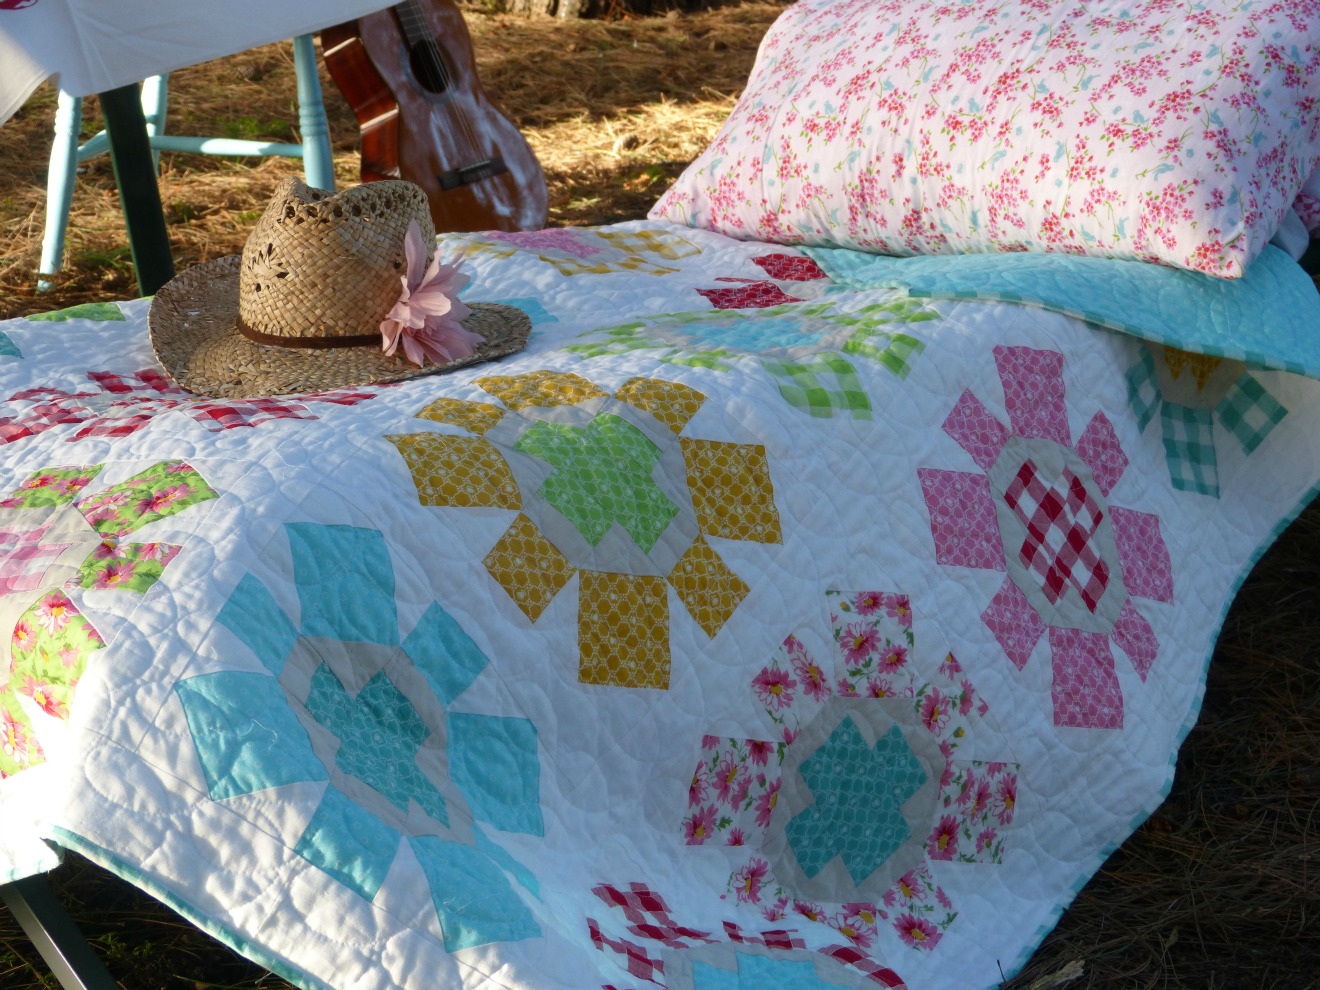
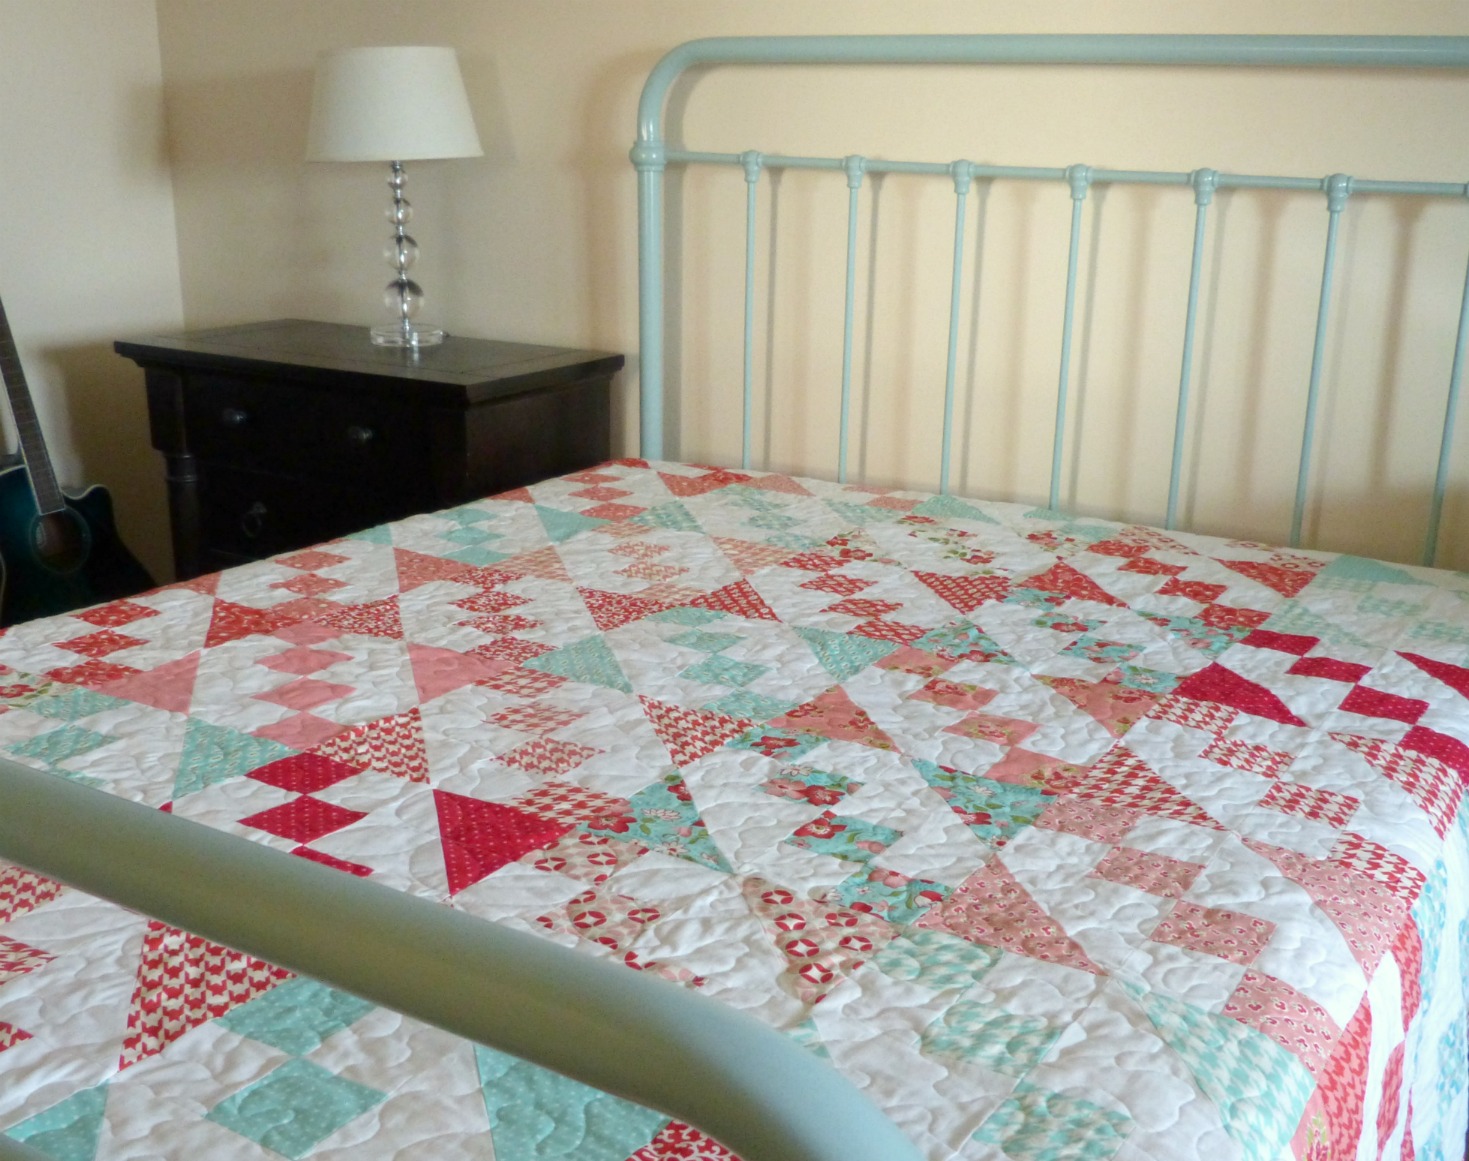
So finally, I was going to make my bed look pretty. I wasn't too worried about making a queen size because I recently just made two twin sized quilts, and they turned out okay, but I really had no idea what I was getting myself into. I made 56 - 12" blocks from Camille Roskelley's "Retro" pattern from her book. Piecing it was easy, but I was so excited to see a finished project that it felt like it was never going to end. Eventually, though, the top was together and all I had to do was baste and quilt it.

I'm not a great baster, but I moved all the furniture out of the living room, and after a couple of hours it was done and I thought I did okay--it looked flat!!! That was last Saturday.


Queen Quilt


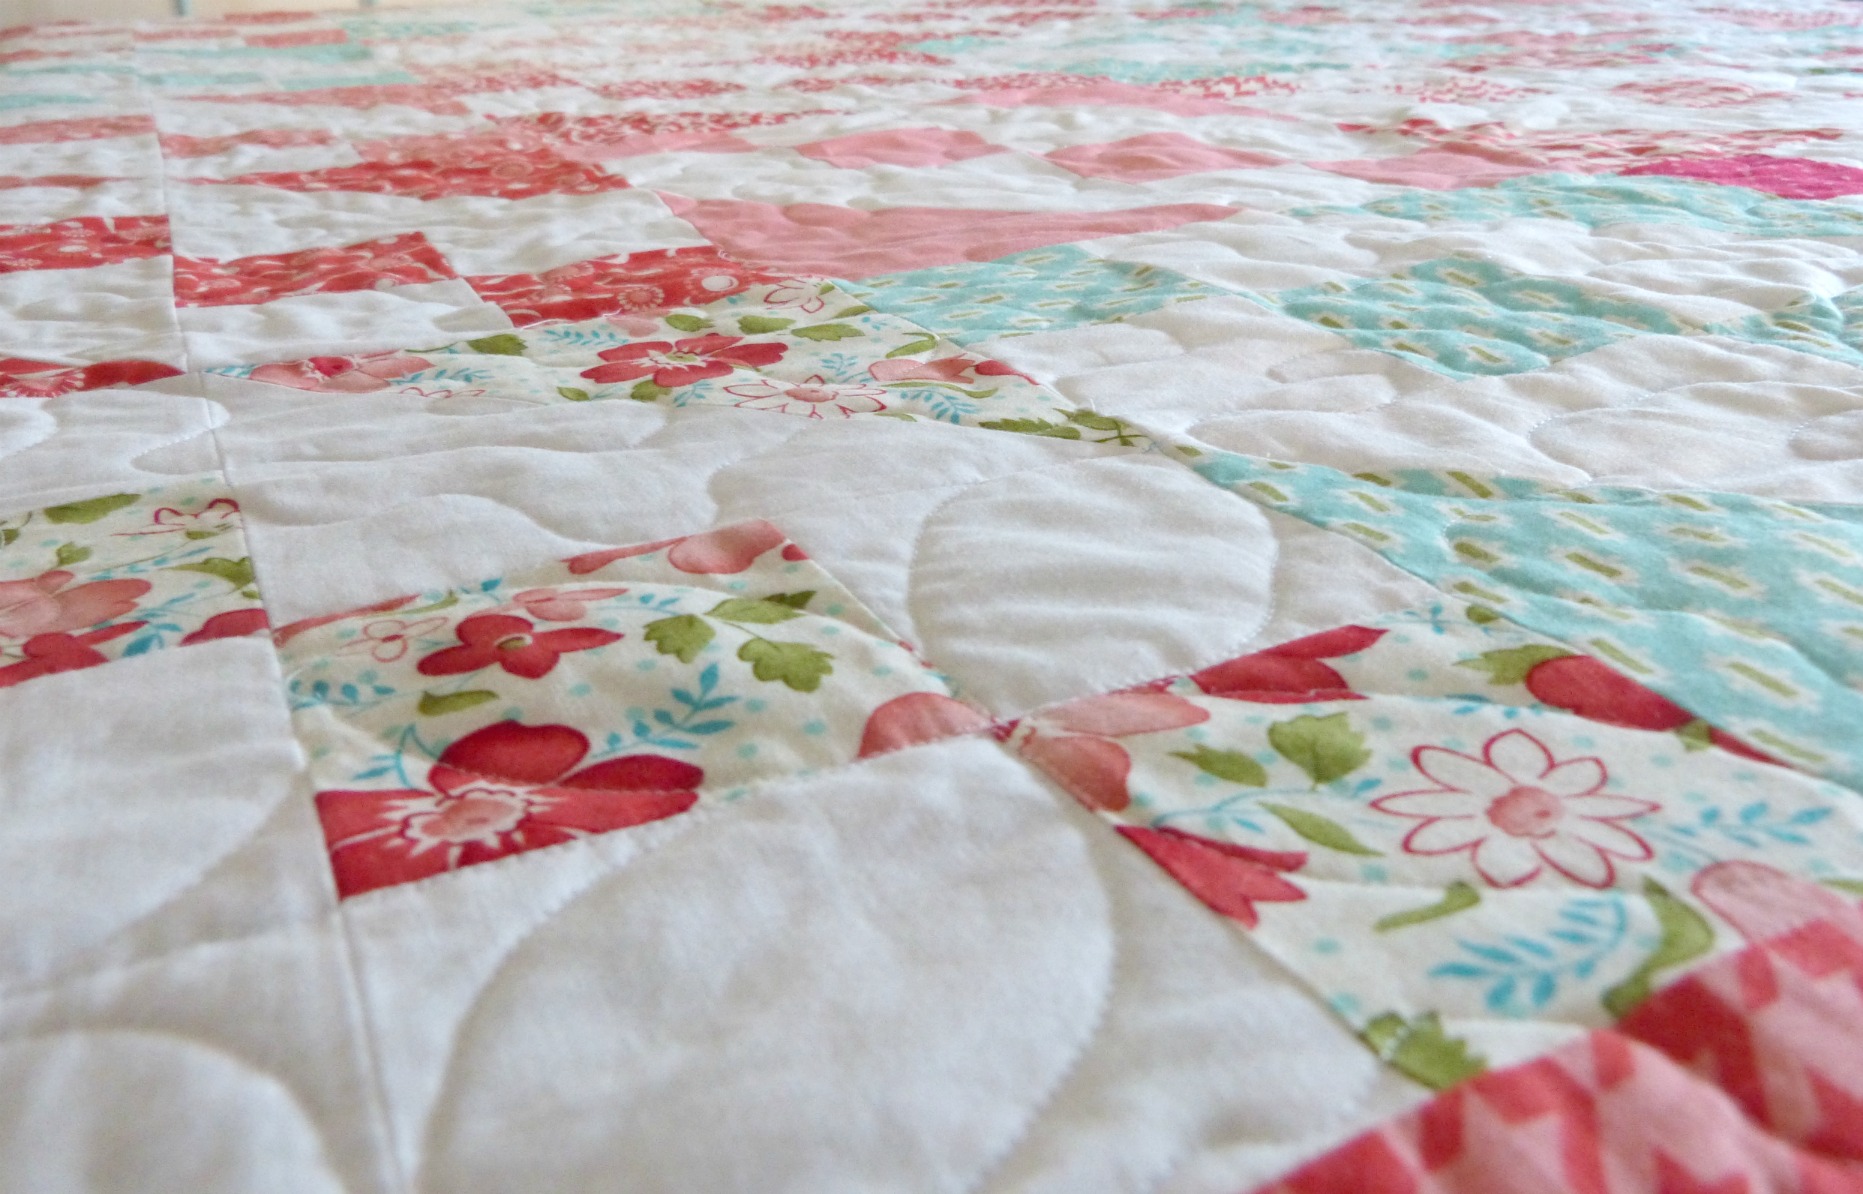
I started quilting it immediately, and decided to do a large stipple design. I didn't want it too heavily quilted since we would be sleeping under it, and I wanted something I could finish fast. Big mistake. I got about 1/4 of the way done, and didn't like my stippling AT ALL! Maybe I was going a little crazy, but I started seeing too many strange designs in the shapes (like when you look at clouds)--dinosaurs, dragons, turtles and ducks. I started to get mad at myself for choosing to do a stipple, but there was no way that I was ripping out quilting on a queen size that was 1/4 of the way finished.

By Tuesday it was 1/2 finished and was starting to really lose it. There's only about 6 inches of throat space on my sewing machine, and even rolled up the quilt was way too big to be trying free-motion. It wasn't as flat as I hoped, the backing was bunching up in some places, and I started to see even more crazy images in the design. At that point I decided I WAS going to rip out all the quilting and do something completely different. So, like mad-woman, I just started doing swirls, didn't like it, and then I started making dogwoods -- which I loved the most--and decided to finish it in dogwoods. Later, I would rip out all the other stitching I didn't like. I went to bed after a couple of rows and was feeling half-way content.

Queen quilt 3

But I woke up on Wednesday morning, realized what I'd done, and started crying. I cried most of the day at work (when no one was looking) and by the time I started to get over it, I got home and took one look at it, and the tears started again. There was no way I was going to be able to take out all the stippling, and I loved the dogwoods, and I was just so angry that I hadn't thought about that first. Blinded my own tears, I started stippling again...I had no plan, but I just wanted to finish it and get it out of my life. Maybe someone could cut it up into rags and use it to wash their car or something. And just as I was being the most negative, I started quilting over a bulky seam, so I shoved the quilt to get it over the seam. Then, my index finger went under the needle, and the needle went straight through my nail and came out the other side of my finger!!!! My husband was in the shower and the only person around was my 4-year old, and I didn't want to freak him out so I just gritted my teeth and turned the knob-thing that raises the needle, until my finger was free again. I knew I had to stop sewing and get it together.

I put a band-aid over my finger, sat down at the computer and googled "quilting disasters". I came across Leah Day's story of her "Duchess Quilt". The poor girl had scorched and stained her award winning quilt that she had spent 300 hours making, and watched as it eventually disintegrated on her walls. Although it was the most awful story, it made me realize that I really didn't have it that bad. It could've been way worse, and the quilt was just going to go on my bed--not in a museum.

Queen Quilt 4

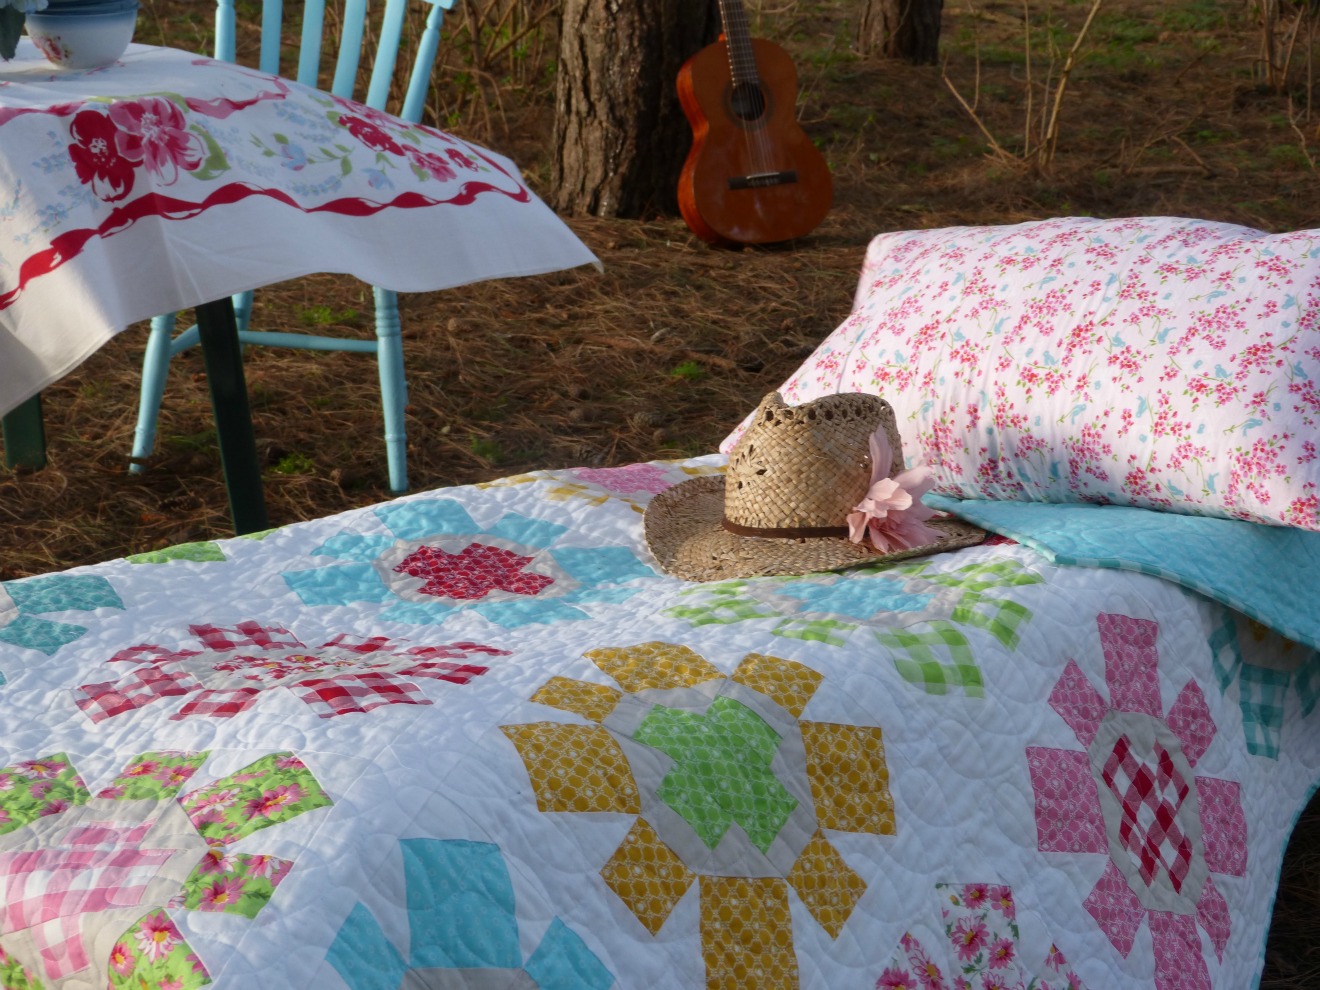
So the next day, I finished the stippling, left the dogwoods, and even added a few more dogwoods randomly on the quilt. After I put on the binding, I can say I'm mostly happy...it's not perfect but I think I'm okay with it now.

So the moral of the story is--take your time, know your limits, keep your fingers away from the needle of the sewing machine, and stay calm because it could be way worse.

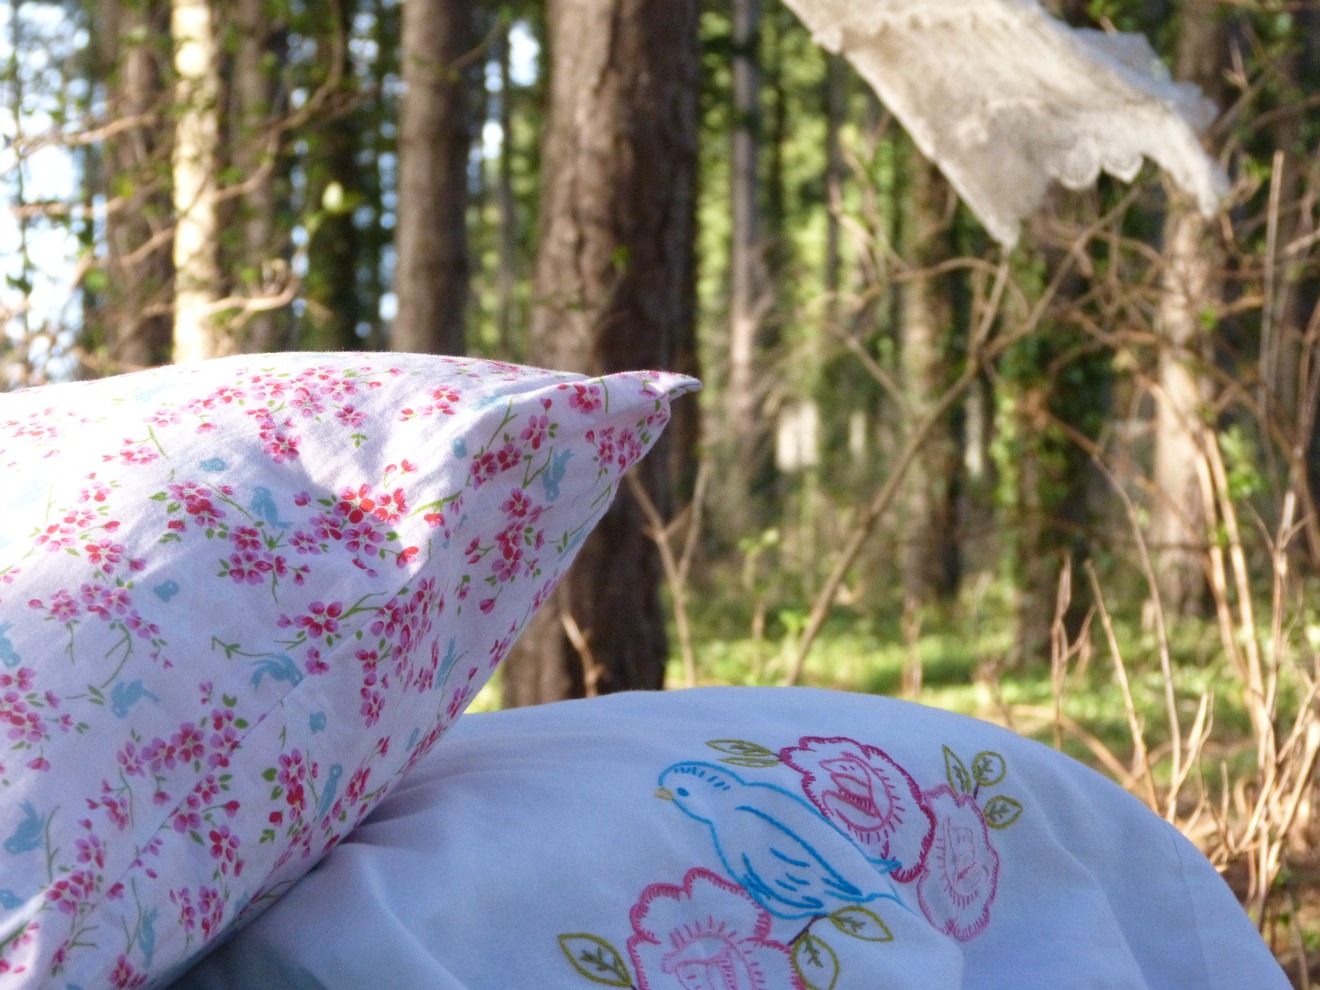
Sorry about the long post, so thank you for reading. The the rest of the weekend I'll be making some new pillowcases, and I hope you are getting time to make something too:)

Thursday 13 February 2014

Valentine's Pillow


Can someone tell me what happened to the last couple of weeks?? They have just flown by, and Valentine's Day is tomorrow--I'm not prepared at all!! After the insane Christmas sewing rush, I decided I wasn't going to get behind on holiday sewing ever again, but it happened anyway. I had big plans to make pretty bunting, lots of pillows, and finish my Xs and +s quilt, but the only thing that actually got done for V-day was this pillow. I like it (I think) but it's too plain and I don't know what I could've done to improve it. Any ideas?

If you are looking for some really good Valentine's inspiration you should check out Audrey's Valentine Mini Quilt tutorial at Strawberry Island Studio!! It's the sweetest little quilt and would be so cute as a table topper, wall hanging, or baby quilt. I think I'm going to use it to make my pillow for next year.

Anyway, I hope everyone's Valentine's Day is filled with lots of love and sewing.


Sunday 9 February 2014

Mother-Daughter Quilting


My daughter's heart was broken for the first time this week. Fortunately, it was not because of a boy, but it was because her best friend, Cora,  moved halfway across the world. For the past year, the two girls were inseparable and got in all kinds of trouble together:) 

Here is a crazy example...my 14-year-old son discovered that some of his money was missing. I asked my daughter and Cora what happened to the money, and innocently they told me they "had no idea". Then we discovered their to-do list...look at #5 and #6!!!


Crazy right?!! I didn't even know what to do!

But anyway, I have wanted to get my daughter back to the sewing machine with me for awhile (you can read a little bit about another time here)--normally she never "has time" and is always busy, but this week seemed like a good opportunity--all she's done this week has been just sitting in front of the TV trying to Skype Cora 15,000 times. So I asked her if she wanted to sew with me. She was reluctant to move off the couch, but I showed her some patterns and let her pick any fabric she wanted from my stash. 

We decided to each make identical quilts, but using the fabrics of our choice. She decided she wanted the quilts to be made from Camille Roskelley's "25 Half Square Triangle Blocks". She chose Lecien's Flower Sugar and I used mostly Pam Kitty Picnic, but I really wanted some aqua so I went a little out of my comfort zone and added a few other fabrics into the bundle.  

I thought making 16 HSTs for one block was a little ambitious, but I was surprised to find that she stayed focused the whole time and didn't quit until her block was done. I helped with the cutting, some ironing, and squaring-up the blocks, but she did all the rest. 


Isn't her block the sweetest?


When I was squaring up her HSTs they were a little wonky (but for some reason that always happens with Flower Sugar!!) so I made them each 4". I squared mine to 4 1/2". You can't tell from these photos, but my block is 16 1/2" and hers is 14". 


And just a tip for sewing with kids...if you stick a stack of post-it notes on the machine at the 1/4" mark they can easily keep a 1/4" seam!!!


 When they blocks were done, I think my daughter had snapped out of her depression. She said, "Can I go play outside now?". 

Sunday 2 February 2014

Glamping in the Spin Cycle

I finally finished my Glamping quilt, and knew I wanted to set up a photo shoot for it. Today was an unusually sunny (but windy) day, and turned out to be the perfect time to load up the car with my favorite things, and set up a glamp-site in the woods.

These pictures make me really happy.

P1010879

P1010959

P1010938

P1010920

P1010919

P1010943

P1010939

P1010932

P1010916

P1010948

P1010971

P1010906

P1010868

P1010871

P1010901

This quilt was made using Allison Harris's Spin Cycle pattern and Glamping fabrics. It finishes at 75" x 75".

I hope everyone has a wonderful week! Linking up at Lily's Quilts, Crazy Mom Quilts, and My Quilt Infatuation, and Quilt Story.

Lily's Quilts

Needle and Thread Thursday

Fresh Poppy Design